How to Restrict wp-admin Access by IP (Without Breaking Your Site)
Every WordPress site gets hit with automated login attempts. An IP allow list shuts that door before a login form is ever rendered — here is how to do it without breaking your forms or checkout.
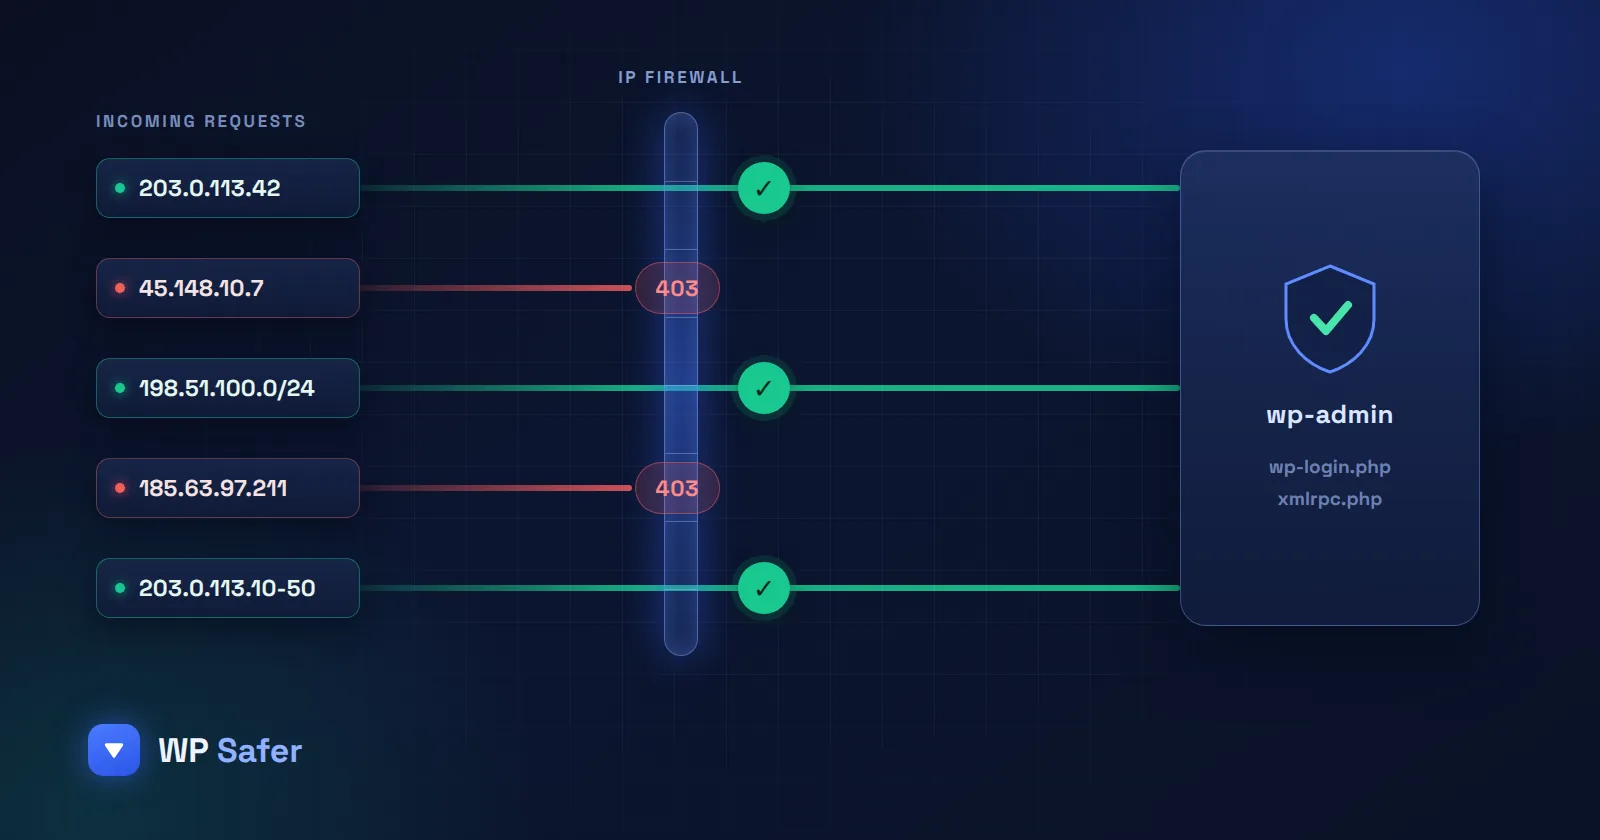
Every WordPress site gets hit with automated login attempts against wp-login.php, and xmlrpc.php is a favorite target for the same bots. The most direct way to shut that door is to only let requests from IP addresses you trust reach your admin area in the first place — everyone else never even sees a login form to attack. WP Safer now includes an IP-based firewall that does exactly this, built into the same dashboard you already use to manage backups and updates.
What it actually protects
The firewall covers three endpoints: wp-login.php, the /wp-admin area, and xmlrpc.php — the paths bots and credential-stuffing scripts target most. It deliberately leaves admin-ajax.php and admin-post.php open by default, because your site’s front-end forms, cart, and checkout flows typically route through those endpoints. Locking them down along with the admin area is a common way well-meaning security plugins break a store or a contact form — WP Safer’s firewall is scoped to avoid that.
How the allow list works
You control access with a simple list, and it accepts several formats so you don’t have to normalize your team’s IPs by hand:
- A single IPv4 or IPv6 address
- A CIDR block (e.g.
203.0.113.0/24) - A right-hand wildcard range (e.g.
203.0.113.*) - A numeric range (e.g.
203.0.113.10-50)
Any line WP Safer can’t parse is flagged as invalid instead of silently failing, so you always know exactly what’s active.
Built so you can’t lock yourself out
Two things make this safe to turn on without a support ticket to yourself: an empty allow list is rejected everywhere (panel and plugin), so you can’t accidentally block every visitor including yourself; and if you do get locked out, a single constant in wp-config.php disables the firewall instantly without touching your saved list. A request that’s blocked is redirected (302) if you’ve configured a bypass address, or receives a 403 if you haven’t.
Managing it across multiple sites
If you manage more than one WordPress site, you can build a reusable IP pool once in your WP Safer dashboard and apply it to as many sites as you like — useful when your whole team should reach every client site’s admin area from the same office or VPN range. Applying a pool copies the current list to that site; it isn’t a live link, so updating the pool later doesn’t retroactively change sites you’ve already applied it to.
Conclusion
An IP allow list won’t stop every attack on its own, but it removes the single most common one — automated attempts against your login page — without any ongoing effort from you. If you’re already using WP Safer to manage backups and updates, turning this on from the Security tab takes a couple of minutes and closes a door that’s open on most WordPress sites by default. And if a site of yours has already been broken into, our guide on what to do in the first 24 hours after a hack walks through the clean-up order.